
Beginner Cocktail Shaking Technique Made Simple
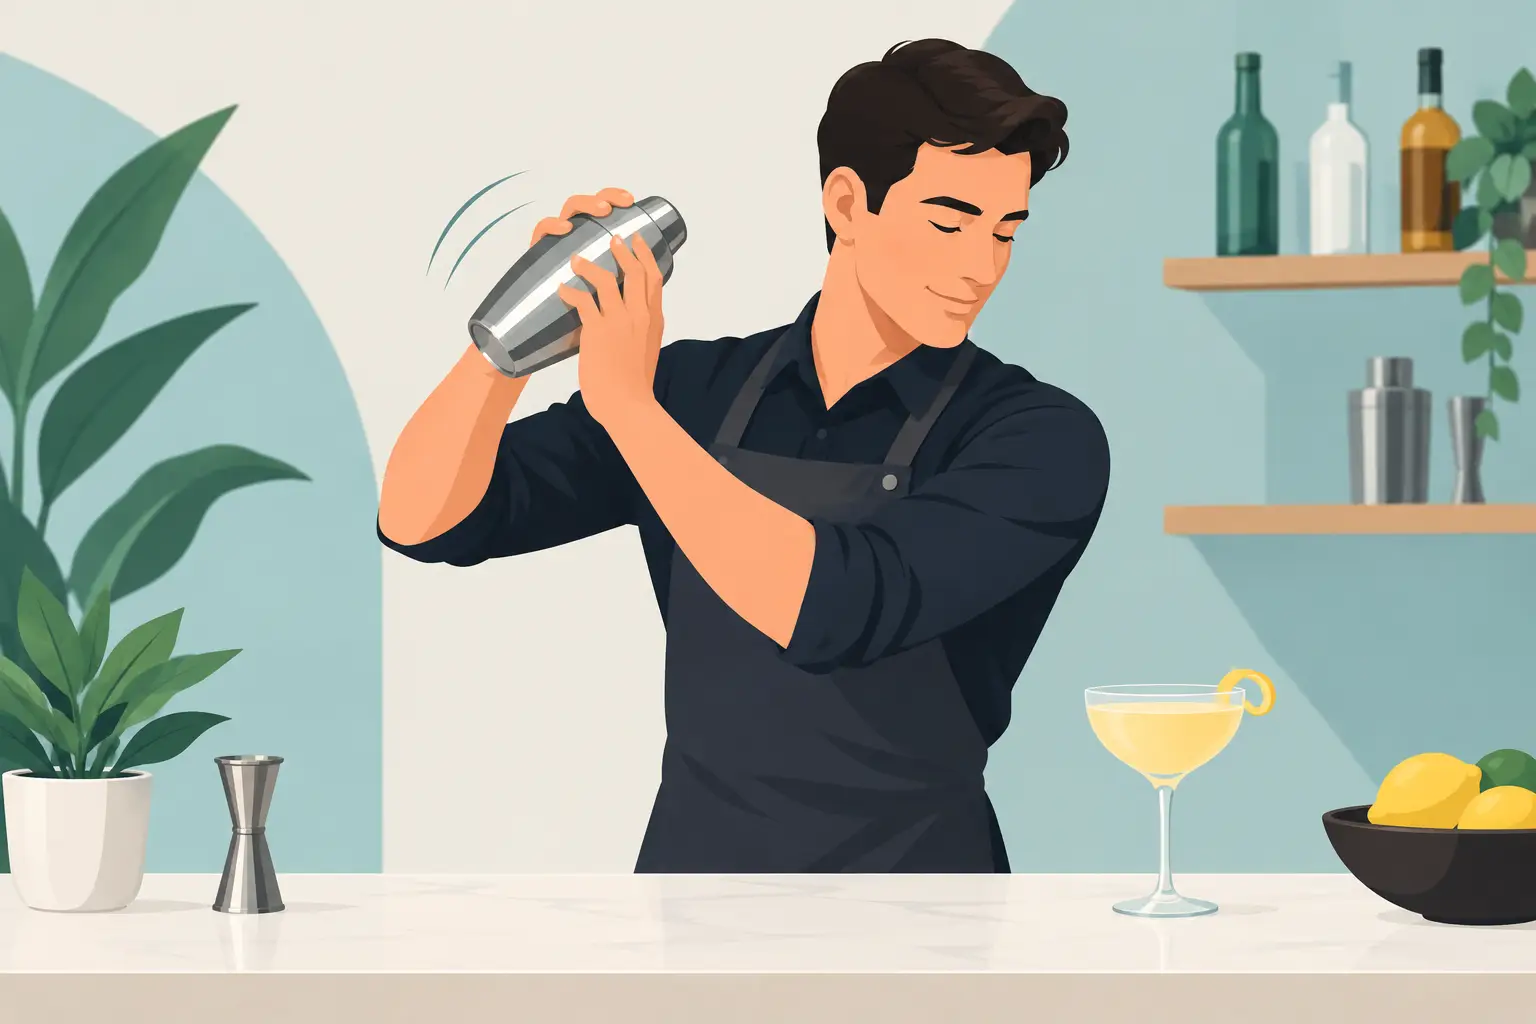
A properly shaken Daiquiri should feel almost too cold to hold, look lightly cloudy, and arrive in the glass with a small cap of foam. That result is less about flashy bartending and more about repeatable basics. A beginner cocktail shaking technique gives citrus drinks, egg-white sours, and other shaken recipes the chill, dilution, and texture their ingredient lists assume.
Shaking is not the right move for every cocktail. A Manhattan or Negroni is stirred because its all-spirit structure benefits from a smooth, clear finish. A Margarita, Whiskey Sour, or many drinks with juice, cream, egg white, or aquafaba need agitation to combine ingredients that would otherwise separate. Start with the recipe method, then use the same controlled process each time.
What shaking changes in a cocktail
A shaker does three jobs at once: it chills the drink, adds water from melting ice, and incorporates air. Each matters. Cold suppresses harsh alcohol notes and brings a drink into balance. Dilution opens up concentrated flavors, especially sugar and citrus. Aeration can create the lighter body and frothy surface expected in a sour.
That is why simply stirring juice, syrup, and spirits over ice rarely produces the same result. The ingredients may combine, but the texture will be flatter and the drink may taste warmer or sharper than intended.
The trade-off is that shaking can over-dilute a drink if you use wet, melting ice or keep going long after the shaker is fully cold. It can also make a spirit-forward cocktail look cloudy. The goal is not maximum motion. It is enough controlled motion to reach the recipe's intended temperature, water content, and texture.
The equipment that makes beginner cocktail shaking easier
You do not need a full bar setup. A two-piece Boston shaker, with a larger metal tin and a smaller metal tin or mixing glass, is durable and fast to clean. A cobbler shaker has a built-in lid and strainer, which can feel more approachable, though its small cap can sometimes stick once the metal gets cold. Either will make good drinks.
Use a separate Hawthorne strainer with a Boston shaker, or the built-in strainer on a cobbler shaker. A fine-mesh strainer is useful when you want to remove small ice chips, citrus pulp, or herbs. This second strain is especially helpful for a Daiquiri, Gimlet, or a drink served up in a stemmed glass.
Ice matters as much as the shaker. Fresh freezer ice is preferable to cubes that have been sitting in a bucket or melting in a glass. Larger, firm cubes dilute more predictably than small, watery pieces. You do not need perfectly clear specialty ice for shaking, but avoid using the few broken shards left at the bottom of the bag as your main shaking ice.
Beginner cocktail shaking technique, step by step
Build the drink in the smaller tin or glass portion first. Measure the spirit, citrus, syrups, liqueurs, and other ingredients before adding ice. This order makes it easier to correct a measuring mistake without wasting ice or creating an unnecessary mess.
Add ice last, filling the shaker roughly two-thirds to three-quarters full. For a single drink, that usually means enough cubes to surround the liquid without packing the shaker tightly. A generous amount of cold ice chills the cocktail quickly. Too little ice melts rapidly and can leave the drink watery before it is properly cold.
Seal the shaker firmly. With a Boston shaker, place the larger tin over the smaller one at a slight angle, then give the top a confident tap with the heel of your hand. Lift the assembled shaker gently by the larger tin. If the smaller section stays in place, the seal is secure. With a cobbler shaker, press the lid down evenly and check that the cap is in place.
Hold the shaker with two hands: one hand supports the base and the other secures the top. Keep it around chest height and point the sealed end away from anyone nearby. Shake with a brisk, compact back-and-forth motion, not a wide arm swing. The ice should travel from one end of the shaker to the other, creating a distinct, steady rattle.
For most single-serving cocktails, shake for about 10 to 15 seconds. Stop when the outside of a metal shaker feels very cold and begins to frost. If your ice is unusually small or wet, the drink may reach temperature faster, so use the feel of the tin as your main signal rather than treating the clock as a rule.
Open a Boston shaker by locating the point where the two tins meet. Tap the larger tin on the side opposite that point, then pull the pieces apart. Do not force or twist aggressively. With a cobbler shaker, wait a moment if the cap is stuck from the cold, then lift it carefully with a bar towel if needed.
Strain immediately into the prepared glass. If the recipe calls for fresh ice, strain over a new set of cubes rather than pouring in the shaken ice. The original ice has already done its job and will continue melting quickly.
When to dry shake a cocktail
A dry shake means shaking ingredients without ice before shaking them again with ice. It is most common in drinks made with egg white or aquafaba, such as a Whiskey Sour variation. The ice-free shake helps build foam; the second shake chills and dilutes the drink.
Start by combining the ingredients without ice and shaking for 10 to 15 seconds. Then add ice and shake again until the tin is frosty. Some bartenders reverse the order, shaking with ice first and then without it, to build a particularly dense foam. Both methods can work, but the standard dry-shake-first approach is easier to remember when you are learning.
Be cautious with carbonation. Do not shake soda, tonic, sparkling wine, or ginger beer in a sealed shaker. Add carbonated ingredients after straining, usually directly into the serving glass. Shaking them creates pressure and strips away the bubbles the recipe needs.
Common mistakes and the practical fix
The most common issue is a weak shake caused by hesitating. Gentle movement does not move the ice enough to chill and aerate efficiently. You do not need theatrical speed, but you do need a decisive rhythm. Think short and energetic rather than long and forceful.
Leaking usually comes from an incomplete seal, an overfilled shaker, or holding only one half of a Boston shaker. Leave room for the ice to move, test the seal before shaking, and keep a hand on each piece. A small leak is frustrating, but it is also useful feedback about your setup.
Another mistake is treating every drink as though it needs the same shake. A standard Daiquiri can take a firm 10 to 15 seconds. A drink with egg white may need two rounds. A cocktail using crushed ice may call for a different method altogether. Follow the recipe's specified technique when it gives one, particularly for classics where texture is part of the drink's character.
Finally, do not judge the result only by foam. Foam can look impressive, but a good shaken cocktail should taste integrated, cold, and balanced. If a Margarita tastes thin, use colder or larger ice next time, not necessarily more shaking time. If it tastes overly sharp, confirm the recipe's citrus and sweetener measurements before changing your technique.
Practice with a simple sour format
The easiest way to build confidence is to make the same basic sour structure more than once. Use a measured base spirit, fresh lemon or lime juice, and a sweetener, then compare your first shake with a second made using colder, fuller ice. You will notice how temperature and dilution affect the drink faster than you would by changing several ingredients at once.
Start from bottles, mixers, and fresh ingredients already in your bar, and choose recipes with clear shaking instructions. Kokto's reviewed recipe library can help identify what is ready to make and whether you are missing one meaningful ingredient, so practice does not require buying a new bottle for every drink.
A shaker is one of the most forgiving tools in a home bar. Measure carefully, use fresh ice, shake with intent, and taste the result. After a few rounds, the cold metal in your hands will tell you more reliably than any performance trick when the cocktail is ready.